Easy Sauerkraut – Cultured Vegetables
February 28, 2014
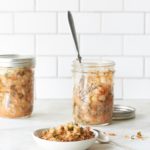
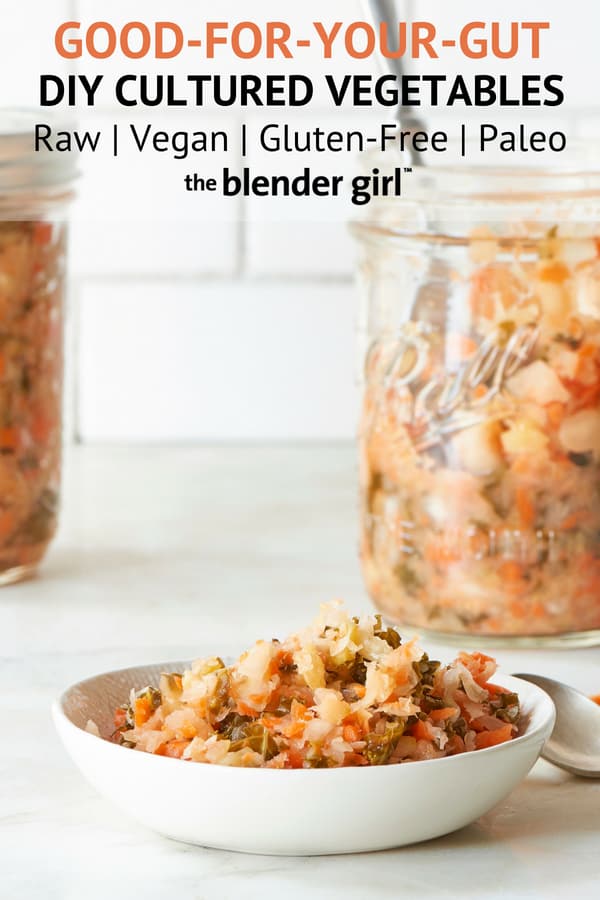
This easy sauerkraut recipe is really easy and delicious. This probiotic-rich mixture is wonderful served with any meal to aid digestion and gut health.
Easy Sauerkraut - Cultured Vegetables
This easy sauerkraut recipe is really easy and delicious. This probiotic-rich mixture is wonderful served with any meal to aid digestion and gut health.
Prep Time 30 minutes
Total Time 30 minutes
Servings 20 Cups
Ingredients
- 2 heads green cabbage
- 6 large carrots
- 2 small leeks (white part only)
- 1 bunch curly kale
- 2 green apples
- 2 tablespoons Celtic sea salt
- 2 teaspoons finely grated lemon zest, plus more to taste
- 1/3 cup (80ml) fresh lemon juice, plus more to taste
- 2 tablespoons minced ginger, plus more to taste
- 1 tablespoon minced garlic
- 1/8 teaspoon cayenne pepper, plus more to taste
- 1 cup (240ml) filtered water, plus more as needed to cover vegetables for jars, and about 4 cups if using the fermenting pot
Instructions
-
Remove the outer layers from the cabbages. Wash these leaves and set them aside. (You will use the outer leaves to pack and seal the jars if you're not using a fermenting pot.)
-
Cut each cabbage into 8 pieces. In batches, throw 4 pieces into a food processor fitted with the S blade or course shredding disc, and pulse just a few times until rustically shredded. Transfer to a very large mixing bowl.
-
Now prep the rest of the vegetables. Peel and chop the carrots into pieces, wash and roughly chop the white pieces of the leeks, remove the kale leaves from their stems, and cut the apples into four pieces.
-
In batches, place these foods into the food processor and pulse until coursely shredded, and transfer to the mixing bowl.
-
Using your hands, massage the 2 tablespoons of salt into the vegetables for about 3 to 4 minutes until the liquids from the vegetables are drawn out and the mixture have reduced in volume.
-
Add the lemon zest, lemon juice, ginger, garlic, and cayenne pepper. Add more to taste. (The mixture makes a delicious shredded salad at this point.)
-
If you're using regular fermenting jars or mason jars, add 1 cup of filtered water to get enough brine to cover the vegetables while fermenting, and combine well.
-
If using jars, pack the vegetables and their juices as tightly down into the jars as possible using a potato masher or heavy spoon. Get as much air out as possible. Leave about 2 inches at the top of each jar for expansion. Roll 1 to 2 cabbage leaves (or more if using large jars) into tight “cigars” and place them on top of the vegetables to fill the remaining space. Seal the jars and let them sit at room temperature (70°F/21°C) or slightly warmer (which accelerates fermentation) for at least 7 days, preferably 10 days until the vegetables are fermented and tangy. (The key is to have a stable temperature. If you don't have an area that qualifies, wrap the jars in towels and place them in an insulated or thermal chest. Don't let the jars sit in direct sunlight. If you're using screw-top lids, open the jars half-way through fermentation (after 3 to 4 days) to let the gas escape. You may also have to pour out a bit of the brine, too. Taste the vegetables after 7 days. They may be done, or you may want them tangier.
-
If using the Raw Rutes fermenting pot do not add water. Transfer the vegetables to the pot and add the water. Use the wooden stomper to press the vegetables down tightly. Once packed, gently place the stone weights on top of the vegetables side by side and press down. The liquid should rise above the vegetables 1 to 3 inches. Fill the water channel on the top of the pot and place the lid on. Place the pot in a warm dark place (about 68 to 72°F) for the first few days to get fermentation happening. After fermentation has started you will hear a bubbling sound. Put the pot in a cool place for 2 to 3 weeks (between 59 and 64°F) until the vegetables are to you preferred tanginess. Taste after 2 weeks (you should hear them bubbling), and keep tasting until they're right for you.
-
When the vegetables are fermented to your preferred tanginess, transfer the jars to the fridge to slow down the fermentation. The cultured vegetables will keep in the fridge for 6 to 8 months.
-
For gut health, consume 1/2 cup cultured vegetables directly before or with every meal, or as a probiotic-rich snack throughout the day.
Recipe Notes
Photo by Trent Lanz and styling by Alicia Buszczak
Comments
Resources
There are no results.


Comments 16
I’ve been o antibiotics which aren’t getting rid of my bacterial diagnosis and Candida. It is frustrating. I bout robotics, tho I don’t know the best brand. They can be expensive. I would rather eat my probiotics and have been wanting to do this so bad. The easiest way possible.
Thanks for this information I’ve never fermented, but I want to start for a healthier gut.
Pleasure. Yes! Start eating cultured vegetables. It’s a game changer.
I am scared about fungus or the food getting destroyed or how do I know the vegetables are just right?
I understand your concern. But fermenting is really safe. You taste the vegetables, and when they have your preferred level of tang, place the jars in the fridge. I hope this helps.
If I don’t have apples at the moment could I use sugar or stevia? I assume I need some sugar?
Yes, you do need some sugar to help feed the culture. You could use a ripe pear or add 2 tablespoons natural sweetener. I don’t recommend stevia. The sugar is fermented away in the final product. So, use some kind of sweetener. Enjoy!
kimchi! this summer i am going to try both sauerkraut & kimchi myself so thanks for the recipe. this looks like another good one to add to the wishlist 🙂
Fantastic! Cultured vegetables are so great for health. Let me know which ones you tried.
Yes, you may find that. This recipe is a little softer than some other recipes. Yes, add more salt and chop the veggies larger for a crunchier result. Thanks for sharing your experience.
Just prepared a jar of this! I didn’t have any Leek in the fridge so I chopped up some Spring Onion instead then I added some minced fresh Turmeric. (Not that it needed it. I had a taste before I added it & it was delicious! I just love Turmeric & it’s wonderful benefits! ) I also added some chopped flat leaf Parsely, which really goes well with the other flavours. Thanks for the inspiration!
Fantastic. I love your tweaks! Isn’t turmeric just an incredible food?! I include it wherever I can, too. Thanks for sharing your blend.
Your video on how to cut squash was great! It would be so helpful if you could do a video on this with jars. I’m worried I want get it right just from reading the instructions. I’d like to learn this and make sure it’s something we would eat before investing $100 on a special pot. Thanks! I love your site and recipes so much!
Thanks Candace,
I did a facebook live where I made these vegetables from start to finish. Here it is:
https://www.facebook.com/healthyblenderrecipes/videos/1444484028906456/
I’ve been wanting to learn more about this. Never heard of it till about 1 yr ago and I’m 36. Def did not grow up around anybody who did this. I think this would really help my husband and his sensitive digestive system. Thanks for the recipe.
Including cultured vegetables is a game changer. And, making them is so easy. Watch the video link below. You can use regular jars to make them.
https://www.facebook.com/healthyblenderrecipes/videos/1444484028906456/