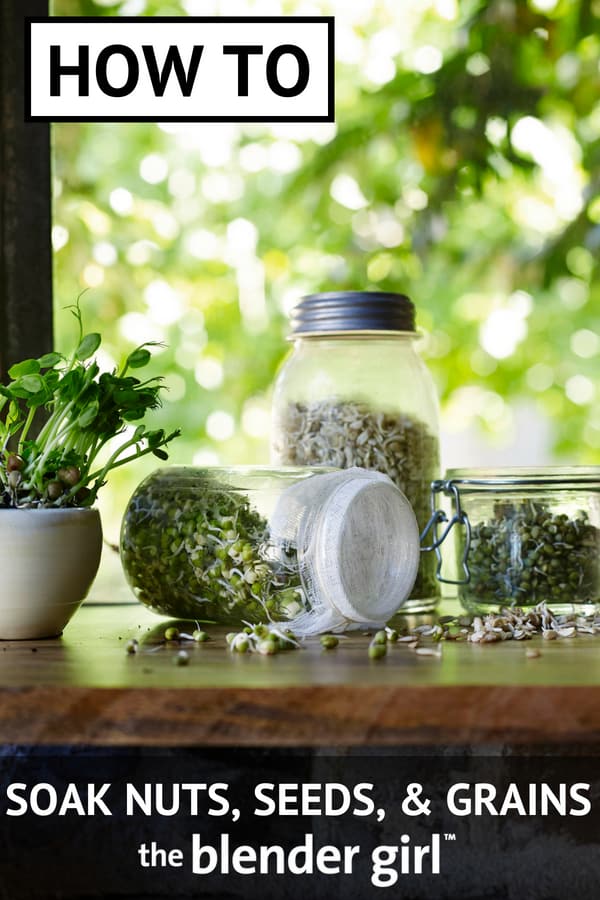
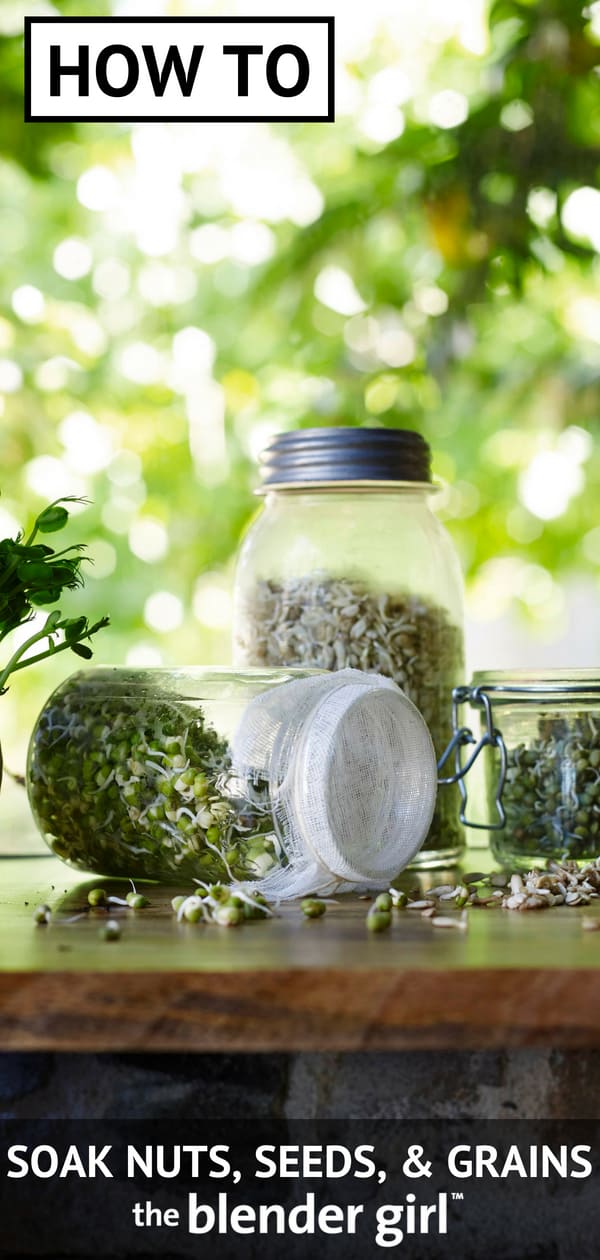
Soaking Nuts, Seeds, and Grains
Soaking nuts, seeds, and grains neutralizes enzyme inhibitors, releases their nutrient potential, and makes them more digestible.
Soaking Nuts, Seeds, and Grains
I was introduced to the health benefits of soaking nuts, seeds, and grains in Sally Fallon’s book Nourishing Traditions.
Before employing this practice into my life I experienced poor digestion, gas, and bloating, and was often nursing a hefty stomach ache from scarfing vast amounts of unsoaked nuts, seeds, and grains.
My motto now? “Be a soaker, not a bloater!”
Why do you soak nuts, seeds, and grains
Nuts, seeds, and grains contain inhibitors (like armor) to protect them and prevent germination until the conditions are perfect. This is a brilliant mechanism while they are growing.
However, when these foods are ingested, their protective agents act as enzyme inhibitors in our bodies compromising our digestion and health. Whole grains also contain other anti-nutrients such as phytates) that can inhibit our absorption of minerals such as iron, calcium, copper, zinc, and magnesium.
Soaking nuts, seeds, and grains (getting them moist) essentially replicates the perfect moist conditions required for germination and neutralizes these anti-nutrients and enzyme inhibitors to make them more digestible.
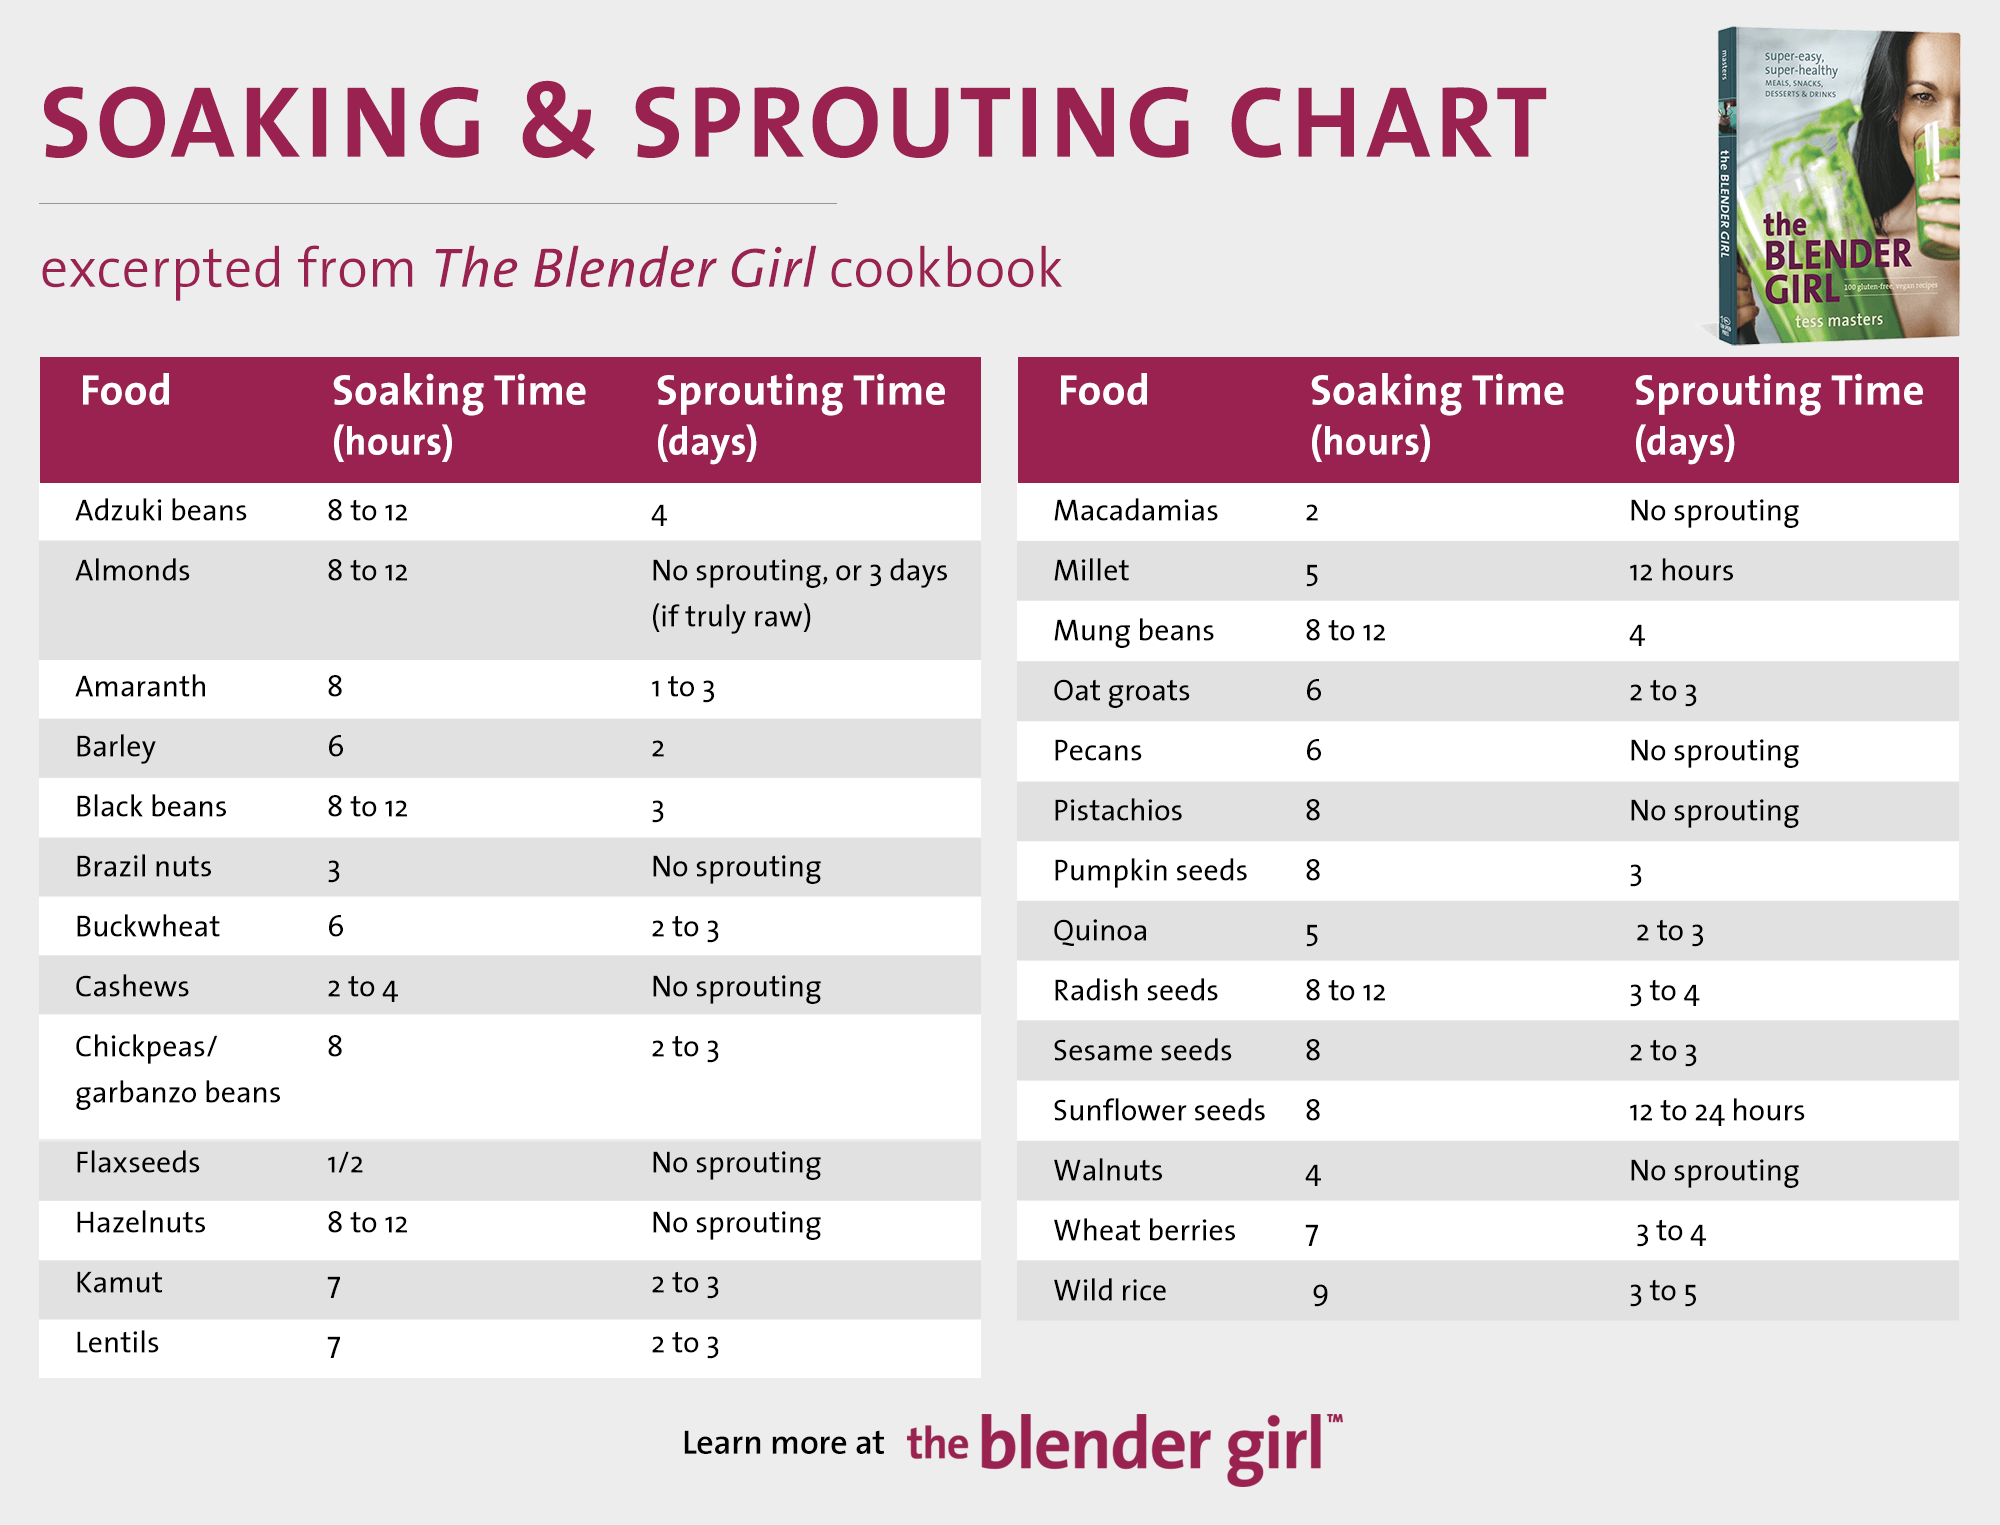
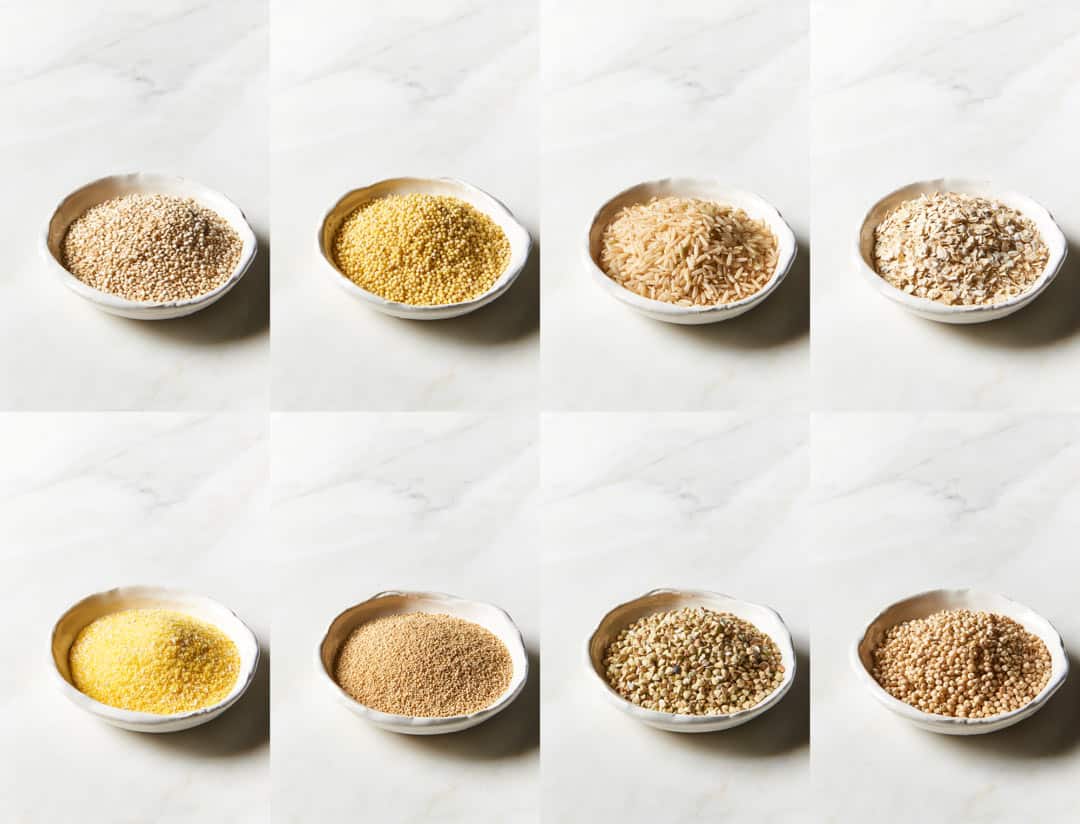
Foods require different soaking times for full germination (see the chart).
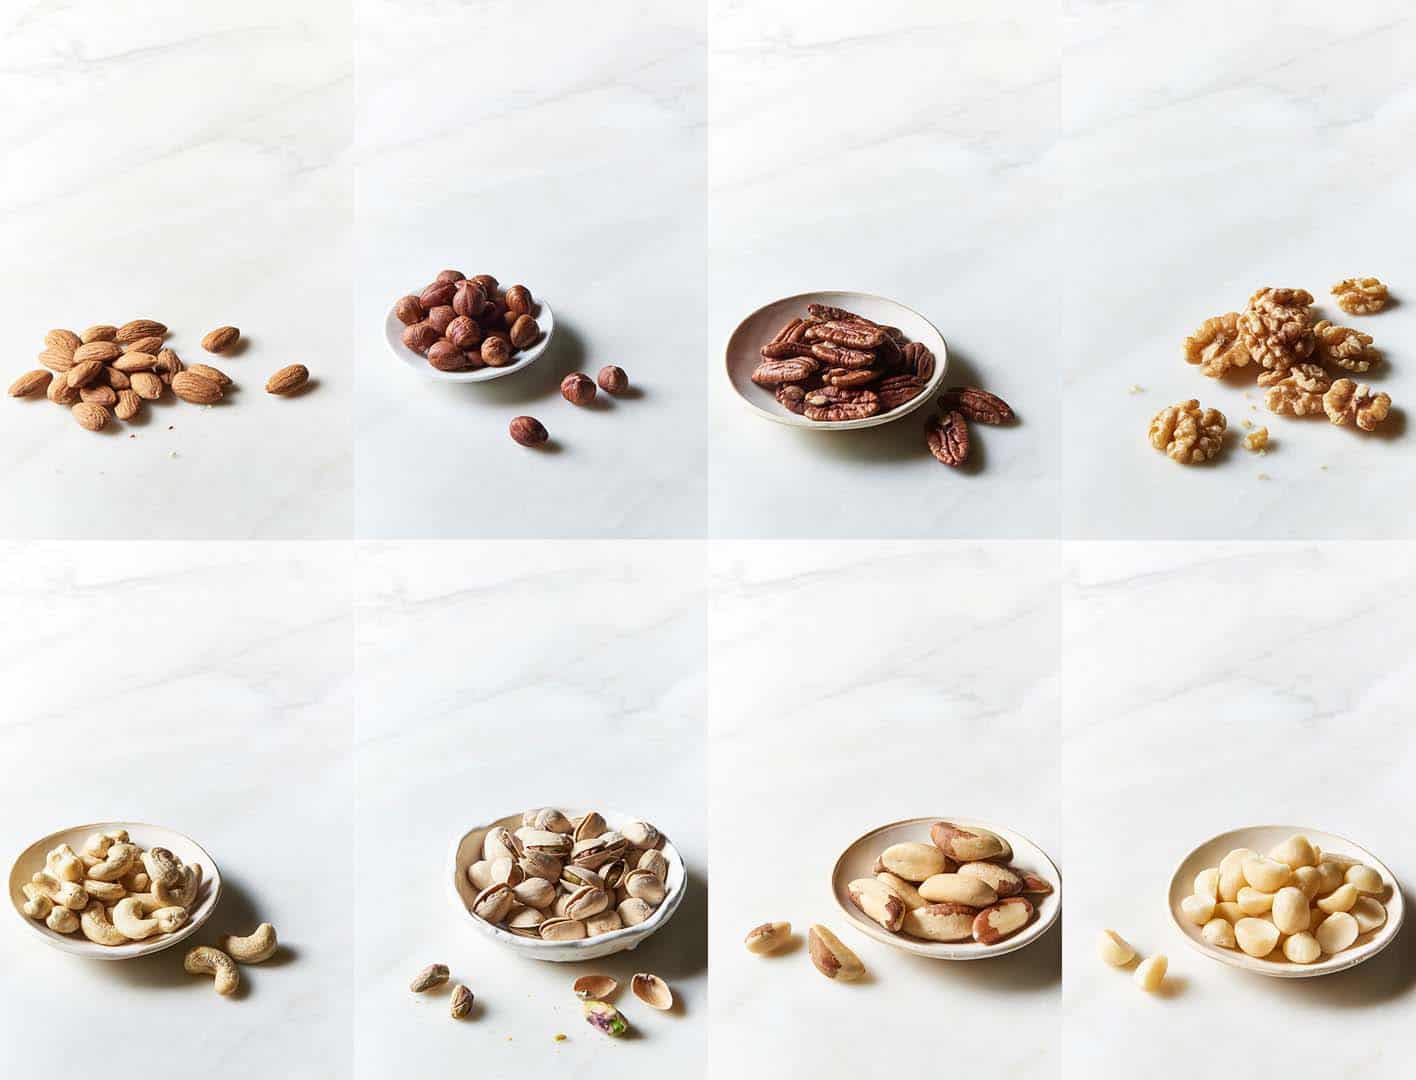
As a general rule with nuts: the harder the nut, the longer the soak.
Long-soak nuts (almonds, pistachios, and hazelnuts) need at least 8 hours.
Medium-soak nuts (pecans, walnuts, and Brazil nuts) are oilier and swell up quickly, so require less soaking time.
Short-soak nuts (cashews, macadamias, and pine nuts) have the highest fat content and require only 2 to 4 hours soaking. Do not soak these nuts for longer than 4 hours. Soaking them for extended periods of time break down their health-promoting oils.
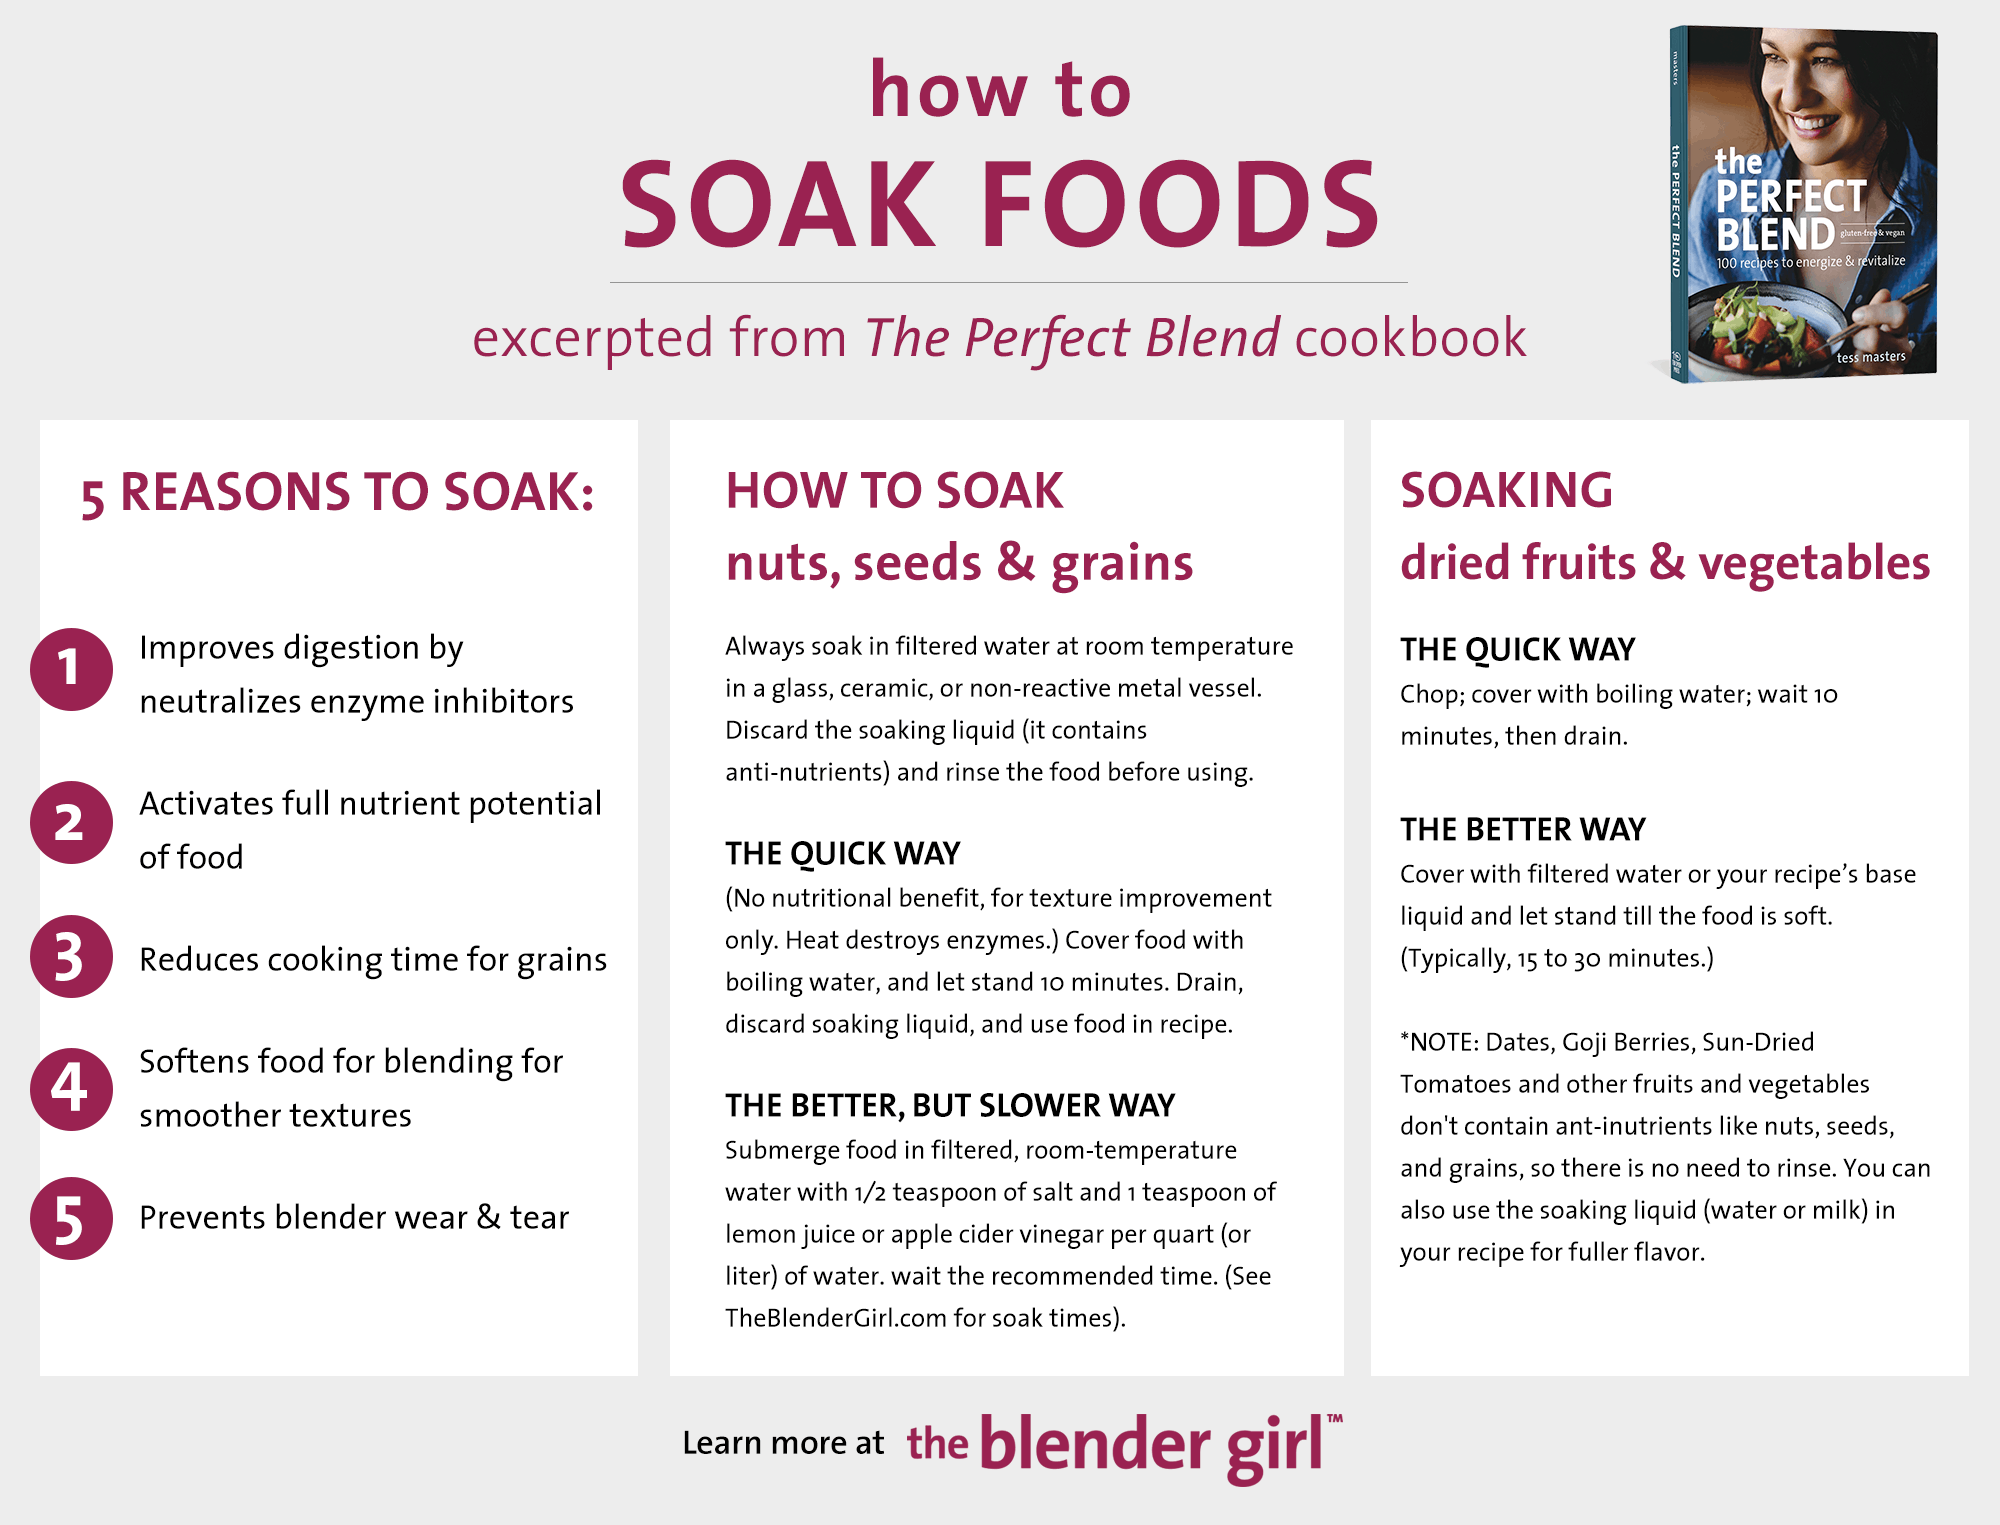
4 Reasons To Soak Nuts, Seeds, and Grains
Improves digestion: Soaking raw nuts, seeds, and whole grains in warm acidulated or salted water simulates the ideal moist germinating conditions these foods wait for in nature, essentially tricking the food into sprouting, which neutralizes enzyme inhibitors.
Unlocks nutrients: Soaking activates the full nutrient potential of food. The potency of vitamins like A, C, and B get a boost, proteins become more available, and live enzymes are released.
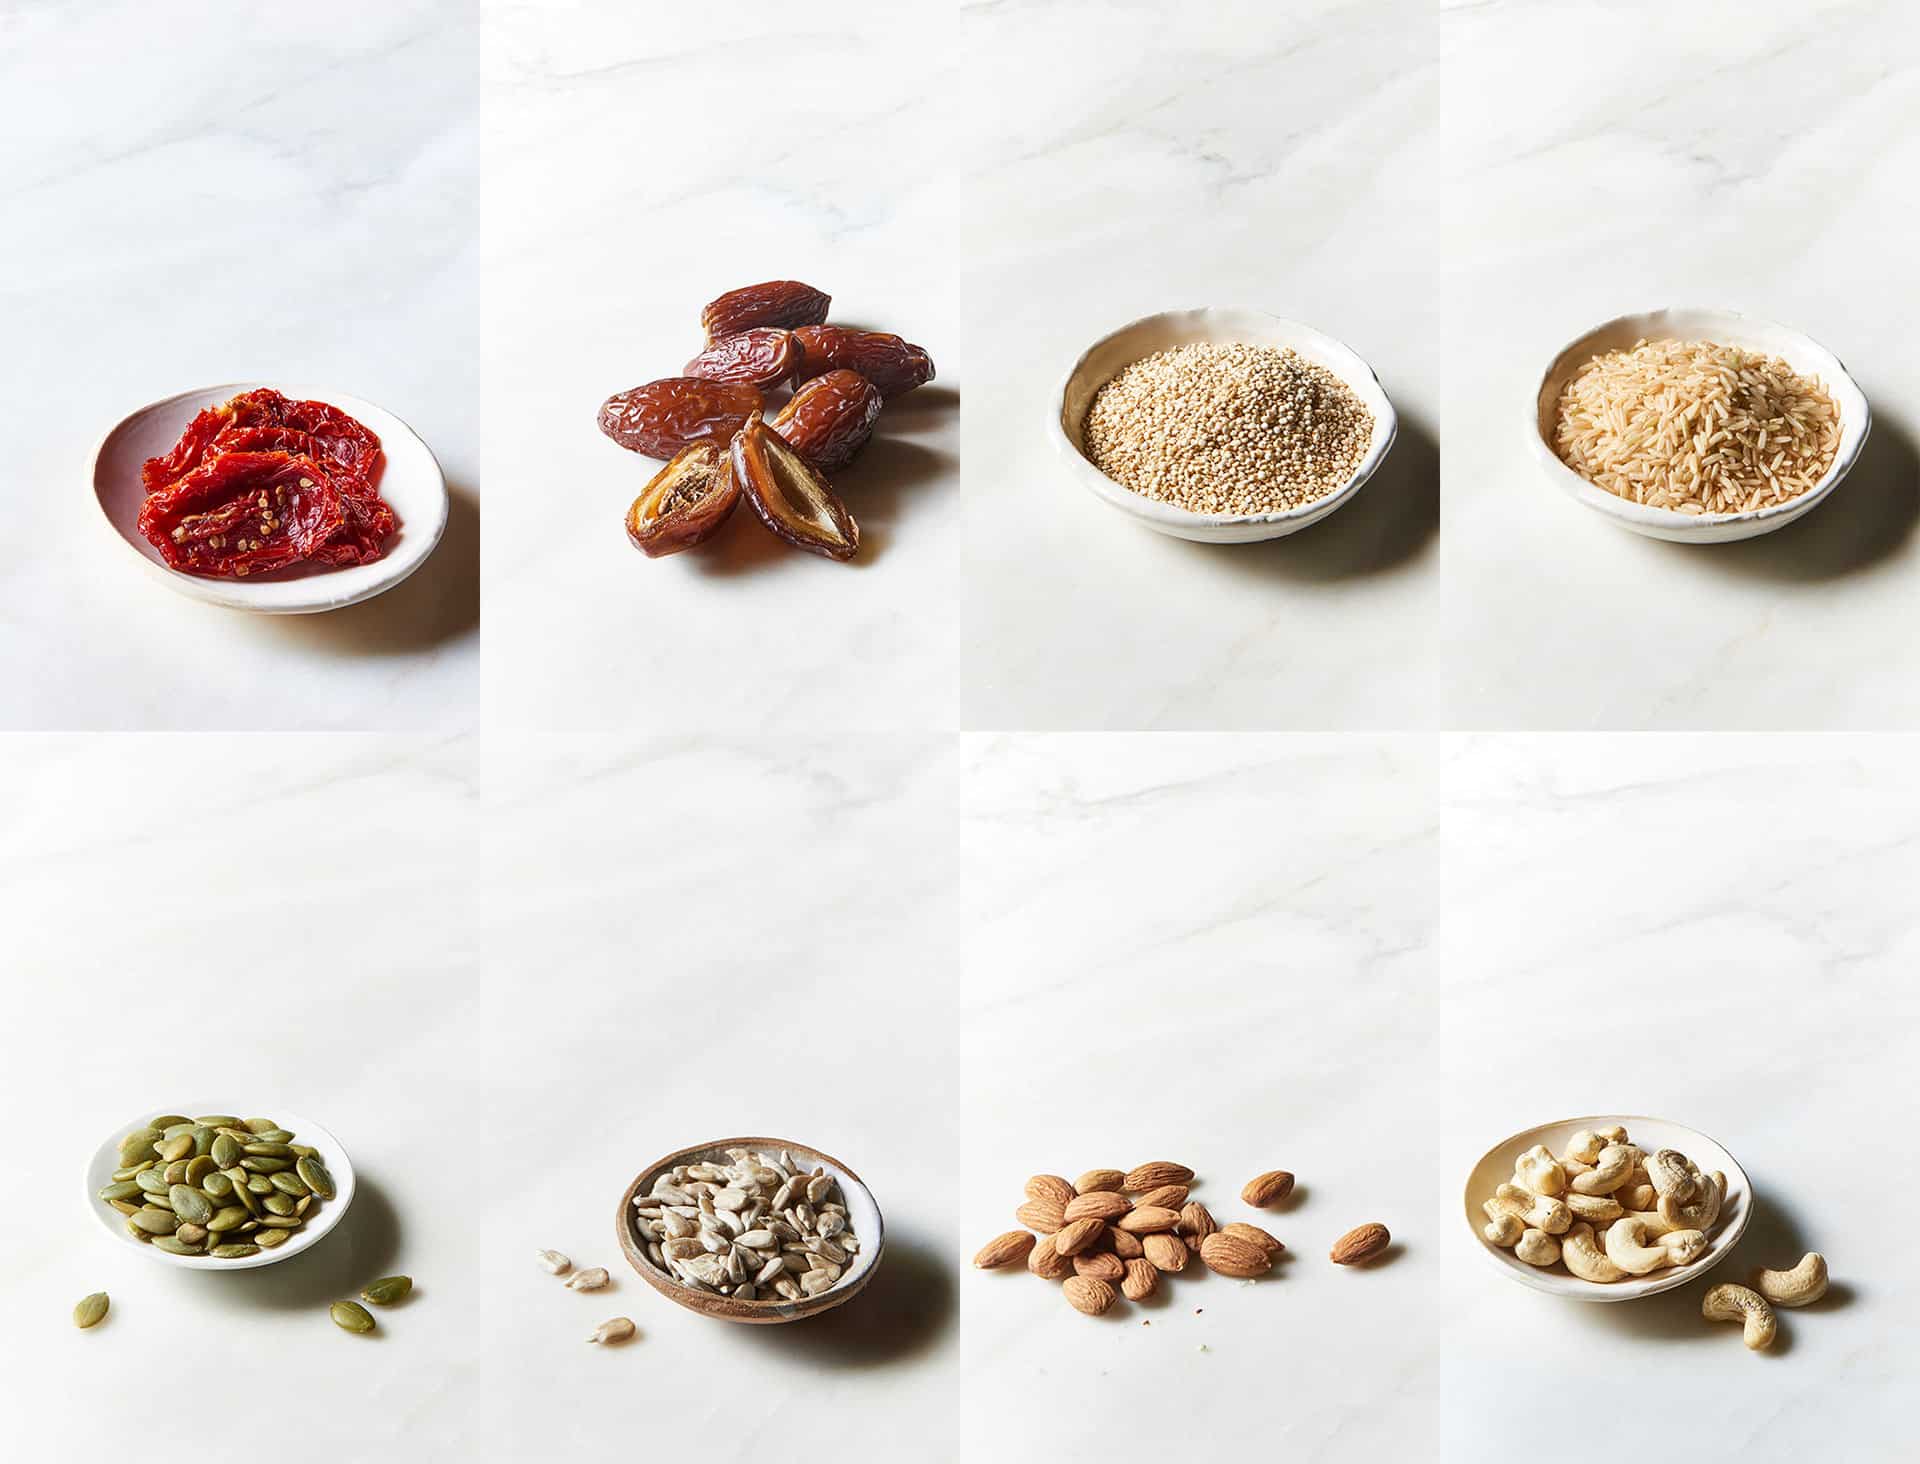
Improved flavor and texture: Soaking softens food, making it easier to blend. Hydrated nuts, seeds, and dried fruits liquefy more completely, even in high-speed machines. The silky, creamy consistency you get by soaking nuts before blending into soups and smoothies isn’t achievable with unsoaked nuts. Similarly, soaking dates for smoothies and sweets, and sun-dried tomatoes for raw sauces yields the best results.
Reduces prep and cook times: Soaking hard and fibrous foods such as nuts, seeds, dates, and sun-dried tomatoes for smoothies, soups, dips, and sauces results in creamier consistencies, particularly with conventional blenders.
Soaked grains cook more quickly, and soaked brown rice, when cooked, gets fluffy like its popular white counterpart.
How To Soak Nuts, Seeds, and Grains
Long Soak for Nutritional Benefits
The easiest way to practice long soaking is in the evening right before bed, and then rinse, drain, and dry upon rising. Alternatively, soak in the morning to use at night.
If you’re using more than one soaked food in a recipe such as making a nut milk or sauce with multiple nuts, soak the ingredients separately, drain, rinse, and then combine in the recipe.
Long soak instructions
Soak your food in a glass or ceramic container. Fully cover it with a solution of warm water, natural salt, and apple cider vinegar or lemon juice. I generally use two parts water to one part food by volume; per quart or liter of water, I add 1/2 teaspoon of salt and
1 teaspoon of lemon juice or vinegar. So, to soak one cup of almonds, I’d add 1/4 teaspoon salt and 1/2 teaspoon acid to 2 cups (480ml) of water, and immerse the nuts in the mixture.
Cover the bowl with a breathable dish towel, and let stand at room temperature for the directed period (see the chart).
During soaking, it’s normal to see a few nuts, seeds, or grains floating on the surface. These are possibly rancid. Discard them. It’s not uncommon to have a lot of floaters. In this case, keep the nuts. It’s the nature of the nut.
You will also see food particles, a murky film on the surface of the water, and sediment on the bottom of the container. This is absolutely normal. These are the anti-nutrients that the soaking process has drawn out.
Empty the contents of the bowl into a colander or strainer, rinse the bowl, and then place the food back in. Refill the bowl with clean water, fully submerging the food, then swish the contents around, strain, and rinse again. Repeat this process again if needed so that the food and water is completely clear.
Quick Soak Times (for texture; no health benefit)
If you haven’t prepared ahead of time or are making recipes in a hurry, you can soften nuts, seeds, and grains for quicker cook times and better textures.
Note: Quick soaking in hot water has no nutritional benefit. Anti-nutrients are not neutralized and the heat kills the digestive enzymes present in the raw food.
nuts, seeds, and grains: Place in a glass or ceramic container, cover with boiling water; let stand 10 minutes, then drain and rinse.
dried fruits and vegetables: With dates, raisins, apricots, prunes, cherries, blueberries, goji berries, camu berries, mulberries, and sun-dried tomatoes, chop them (if needed), cover with boiling water; wait 10 minutes, then drain. Or cover with room-temperature water, and allow to stand for 30 to 60 minutes, or until the food has softened.
There are no anti-nutrients present in these foods, so you can soak these foods in the base liquid for the recipe and there is no need to rinse and drain.
For example, soak dates in the almond milk for a smoothie the night before and add the entire contents of the soaking bowl for added flavor and sweetness.
Download your free infographic.
What to do with soaked nuts, seeds, and grains
Freshly soaked nuts, seeds, and grains need to be used immediately. Cook the grain (see notes about adjusting cook times below), or use the nuts and seeds to make fresh nut milks, creams, smoothies, soups, and desserts.
If you’re not using the soaked food immediately, dehydrate the soaked items (see instructions below) for use later as snacks, or to make butters, crusts, and flours.
Alternatively, sprout soaked nuts, seeds, and grains (see instructions below).
Soaked foods like dried fruits and vegetables must be used immediately.
Do not leave foods soaking for days in the fridge. This is very common, and not at all desirable for taste, texture, or health.
Adjust the cooking time for soaked grains
When cooking soaked grains, use about half the water you would to cook unsoaked grains.
As a general rule: Use a one-to-one ratio (by volume) of water to soaked grain to cook them to al dente.
When using soaked grains in recipes, start with half the liquid called for, and add more liquid as needed to reach the desired consistency.
How to sprout nuts, seeds, and grains
Sprouted foods (or activated foods as they are sometimes labeled) are widely available at health food stores. But, they are really expensive. Why hand over wads of cash when it’s so easy to make your own.
Sprouting does require patience, attention, and some planning, but very little hands-on time.
I soaking the foods I plan to sprout just before I go to bed, so they’re ready to go into sprouting jars in the morning. Getting them ready takes just a couple of minutes. Then it’s only a matter of checking on them, and making sure they stay hydrated. On a sunny windowsill, they’re easy to manage while you do other things.
Note: Most seeds, legumes, and grains will literally sprout a tail, but some will not. Most nuts will not physically sprout. This is because many of the nuts we purchase are not technically raw. A nut or seed that is labeled as raw may not have been cooked, but may have been irradiated, pasteurized, or subjected to heat to crack its hard shell. Due to legislation, all almonds sold in the United States must be pasteurized. So, you can activate the nutrient potential of an almond that is not truly raw, but it will never physically sprout a tail.
Basic instructions for sprouting
Soak your goods in a mason jar with a flat metal lid and a ring top. Remove the lid from the ring and use it as a guide to cut a piece of breathable mesh or cheesecloth to cover the opening of the jar. Place the food you want to sprout into the jar, only about one-third full, and fill the jar with warm water and a bit of natural salt (1/4 teaspoon per cup of water). Close the jar with the breathable cover and the ring. Let the jar rest on a countertop for the desired time (see the chart).
To drain, remove the ring and the mesh, pour out the water, and then fill the jar with fresh, warm water. Replace the flat metal lid and secure it with the ring. Rinse the food well by shaking the jar. Drain and repeat.
After draining the water for the second time, refit the mesh, close the jar with the ring, and lay the jar down at an angle, so excess water drains out. Leave the jar on its side to sit in natural light on a countertop or windowsill to drain.
Repeat the rinsing and draining every few hours, or at least twice a day. Make sure you angle the jar to drain off excess liquid and that you keep it in the sunlight until the food is fully sprouted.
Most foods sprout in 1 to 4 days (see chart). Sprouts vary in length from 1/8 inch to 2 inches (3mm to 5cm), and not all will show signs of green.
When the sprouts are ready, do a final rinse, drain thoroughly, and tilt the jar for further drainage until the sprouts are completely dry. (If they’re damp, they’ll spoil.) When they’re dry to the touch, replace the flat metal lid, secure with the ring, and store the jar in the fridge.
Including soaked and sprouted foods in your diet not only maximizes nutrient availability and expands culinary pleasure, but also encourages the proliferation of friendly bacteria in the digestive system, which boosts immunity. Consuming these foods in conjunction with cultured foods is a winning strategy for fostering a healthy internal balance.
Practice Safe Food Handling
Sprouts are highly susceptible to contamination, which can cause bacterial growth such as E. coli, resulting in food poisoning.
When preparing your sprouts, always wash your hands thoroughly, keep sprouting equipment and kitchen surfaces clean to avoid cross contamination, and consume within a couple of days, straight out of the fridge.
When purchasing commercial sprouts, always source fresh products from a reputable supplier.
Most sprouts will keep in the fridge for two to three days. Use them in raw salads, sandwiches, and wraps, or to top soups and stews. They can be pretty fabulous in smoothies, too.
Cooking Sprouts
Some health authorities recommend cooking sprouts to reduce the risk of food-borne illness. I consume sprouts raw, to benefit from their live enzymes and nutrient density, and have never had an issue. You decide yourself on the responsible choice for you and your family.
How to dehydrate nuts, seeds, and grains
If you’re not using nuts, seeds, and grains immediately after soaking, dehydrate them for use later.
Drying foods in an electric dehydrator (which works at low temperatures so raw foods retain their live enzymes) allows you to preserve activated foods for use in a variety of recipes.
To dehydrate, spread out your soaked foods on the mesh-screened trays of the dehydrator, and dry for 12 to 48 hours at a setting no higher than 115°F (46°C) to preserve the live enzymes. Most manuals come with instructions for specific foods. Seeds typically dry best at about 100°F (38°C) and nuts at 115°F (46°C).
Allow the food to dry and cool completely (it’ll get crunchy) before sealing in an airtight container. If it holds any residual moisture, it will quickly make friends with mold. To avoid this, leave the lid off the container for a few hours before sealing it up.
If you don’t have a dehydrator, use a regular baking sheet and dry on the lowest setting of your oven. But keep in mind that even a standard warm setting of an oven is well above 115°F (46°C) which is more than hot enough to kill live enzymes.
Download your free infographic.